Make Your Own Sushi at Home
The season of parties, family gatherings, and social events is here! Between football parties, holiday parties, and birthday parties our weekends are officially jam packed from here until I become a hermit and refuse to go out in the snow. With all of these parties comes endless amounts of food. I feel like I am constantly making something to take somewhere. Then my my husband asks, “whats for dinner”, and I think, goodness I have to make dinner too? It can get a little overwhelming. I try to come up with things we can make together with some of the leftovers. My go-tos used to be things like stew, soup, and casseroles, but then I was at a friends when I saw them making their own sushi in this really simple and cool way. They were using a Sushezi to make their sushi. It looked like so much fun, so we bought a sushezi and tried it for ourselves. Now Make-Your-Own-Sushi(ish) night is one of go to meals for using up extra fruits and veggies.
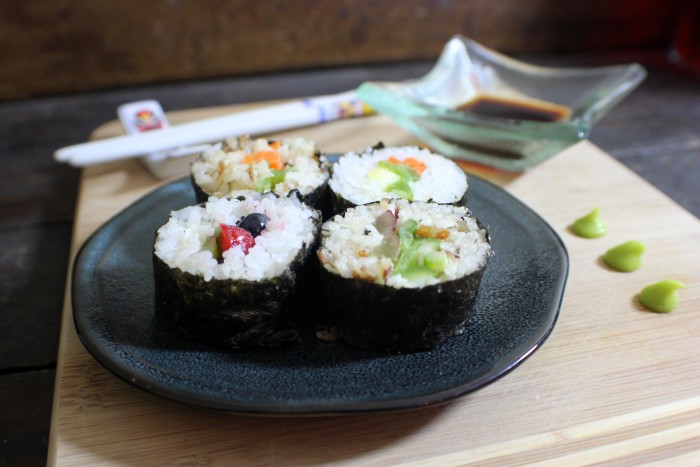
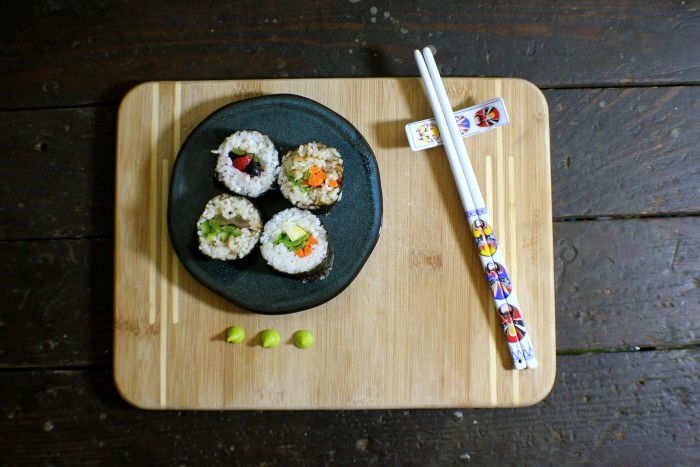
We don’t make traditional sushi for two reasons, I don’t trust myself with preparing raw fish, and I think touching raw fish is icky. So we stick to simply vegetable and fruit sushi. It may not be traditional sushi, but it is still super yummy and a great way to get kids to eat their fruits and vegetables.
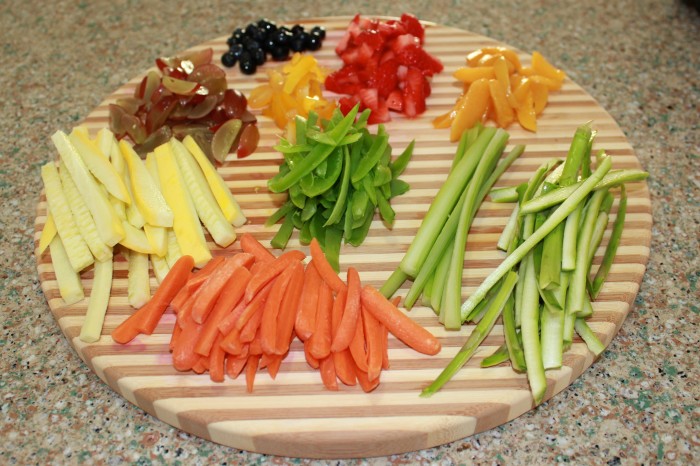
Having a Make-Your-Own-Sushi night is really fun and easy. All you need to do is prepare the sushi rice, slice up your extra fruits and vegetables into nice thin strips, and pick up some seaweed wraps.
When preparing your sushi rice you can follow the directions on the bag for traditional sushi rice, or follow my recipe for a slightly sweeter rice that goes great with fruit.
I think what I like best about Make-Your-Own-Sushi night is it give everyone in the family a chance to be creative. A chance to try mixing any variation of fruits and vegetables they would like, and a chance to enjoy the “fruits” of their labor. It is a tradition I look forward to sharing with our daughter as she grows.
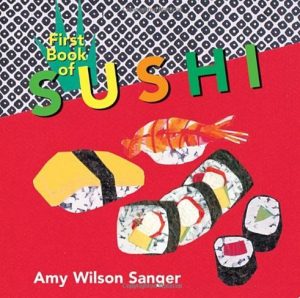
If you haven’t figured it out already, I love sharing at least one fabulous kids book that goes along with my recipe. One of my favorite things is linking the fun of cooking with the fun of learning! What is better than reading a book about sushi, and then giving a child the opportunity to make their own? My favorite sushi book I have found so far is, “First Book of Sushi (Word Snacks)”.
I hope you and your family enjoy Make-Your-Own-Sushi night as much as we do.
 Tara is a military spouse and mommy of one. A good recipe with lots of ingredients at different measurements is the perfect yummy addition to any math or science lesson! In her free time she enjoy spending time with her amazing husband, two crazy puppies and adorable little girl. She shares her military life adventures, kitchen creations and kid friendly crafts over at An Aiming High Wife, come visit anytime, or find her on Facebook and Pinterest.
- ¾ Cup Sushi Rice
- ¾ Cup Coconut Milk
- ¼ Cup Pineapple Juice
- In a sauce pot combined sushi rice, coconut milk, and pineapple juice.
- Bring to a soft boil, reduce heat and cover pot.
- Allow to simmer for 10-20 minutes until liquid is absorbed.
- Turn off heat, and allow the rice to sit for an additional 10mins.
- Add ½ teaspoon of rice vinegar and fluff rice with fork.
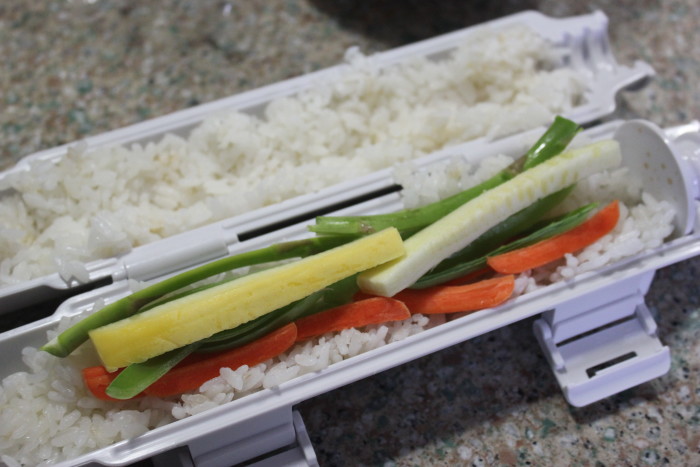
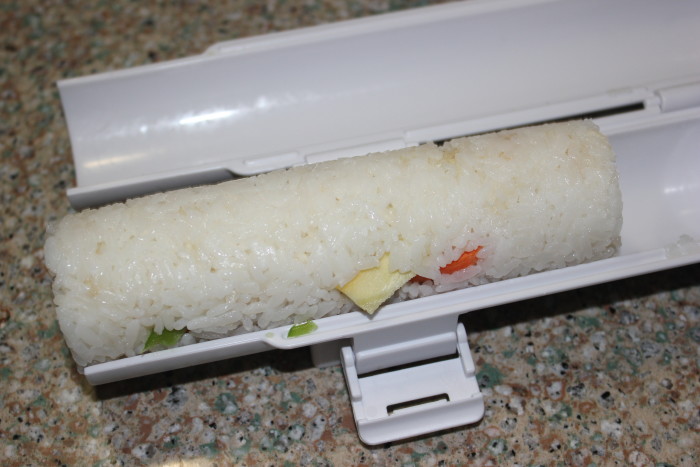
- Once all of your rice is prepared and ready, you simply fill both sides of the sushiezi with rice, leaving a slight valley in the middle of each side. Line up with fruits and vegetables of your choice, careful not to overfill, close up the sushiezi, lock the end cap, and twist the handle to compress your sushi. Once you sushi is compressed you simply transport it onto a piece of seaweed, and roll the seaweed around your sushi. Seal the end of the seaweed with a little bit of water and set the sushi on a large plate. It works best if you wait and only try cutting the sushi after it has a change to set in the refrigerator for about 20 minutes.
- Then simply slice up and service with your favorite traditional sides--in our house that means soy sauce and wasabi