
How to Make a Dream Catcher {Tutorial}
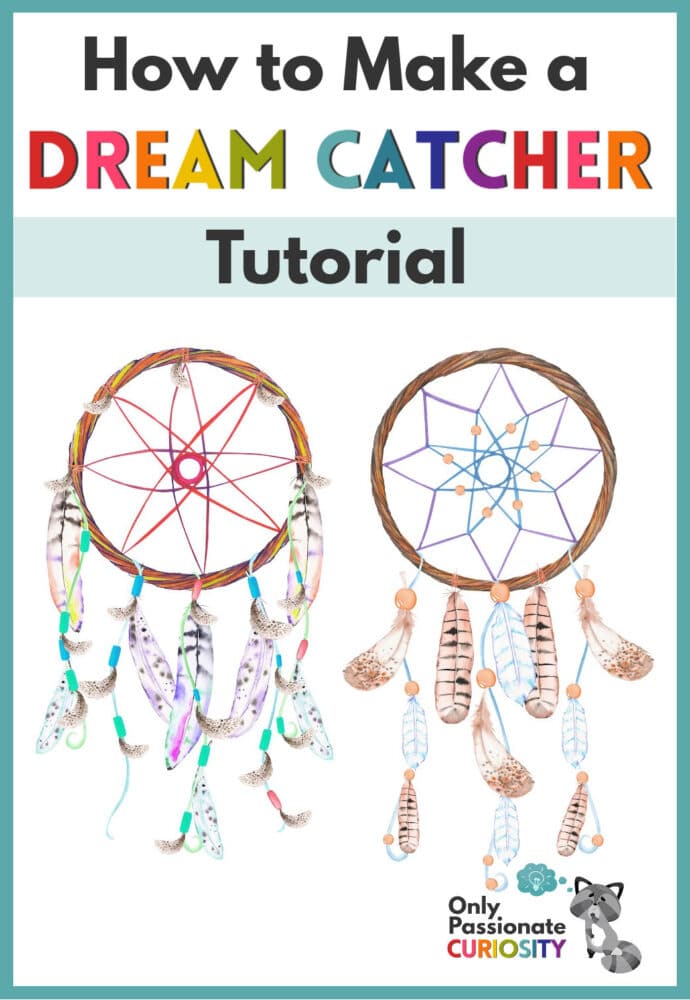
How to Make a Dream Catcher
If you’re studying Native American cultures in your homeschool, try making a dream catcher as part of your study! This tutorial will give you the information you need to learn how to make a dream catcher. And it’s not as hard as you might think!
I don’t always follow instructions exactly the way they’re given, so when I found tutorials showing how to make dream catchers from paper plates, etc., I decided to change them up so our dream catchers would be more durable. We want to be able to keep and enjoy them for a long time! And we want our dream catchers to be made of more natural materials.
Supplies You’ll Need to Make Your Dream Catcher:
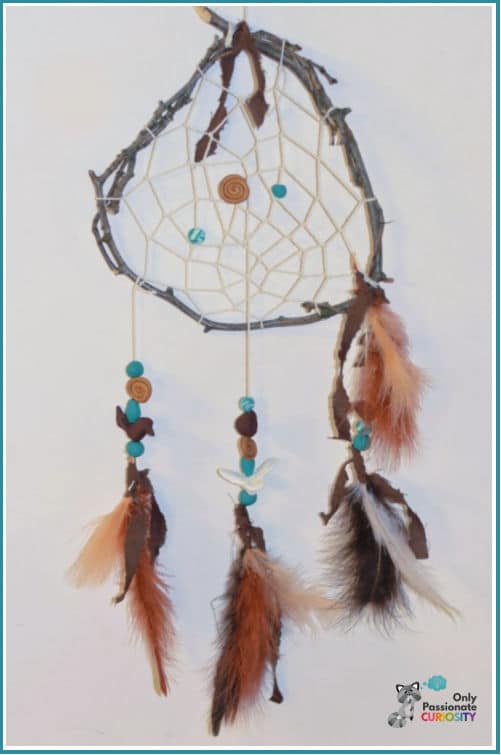
1. an approximately 3-foot section of a fresh, flexible tree branch (Ours was from a Hawthorne and was about 1/4 inch thick. Any flexible wood should work.)
2. clay to make beads (We used Sculpey.)
3. durable string (We used hemp.)
4. feathers for decoration
5. thin leather cording for finishing (or brown fabric that has been cut into very thin strips)
How to Make a Dream Catcher:
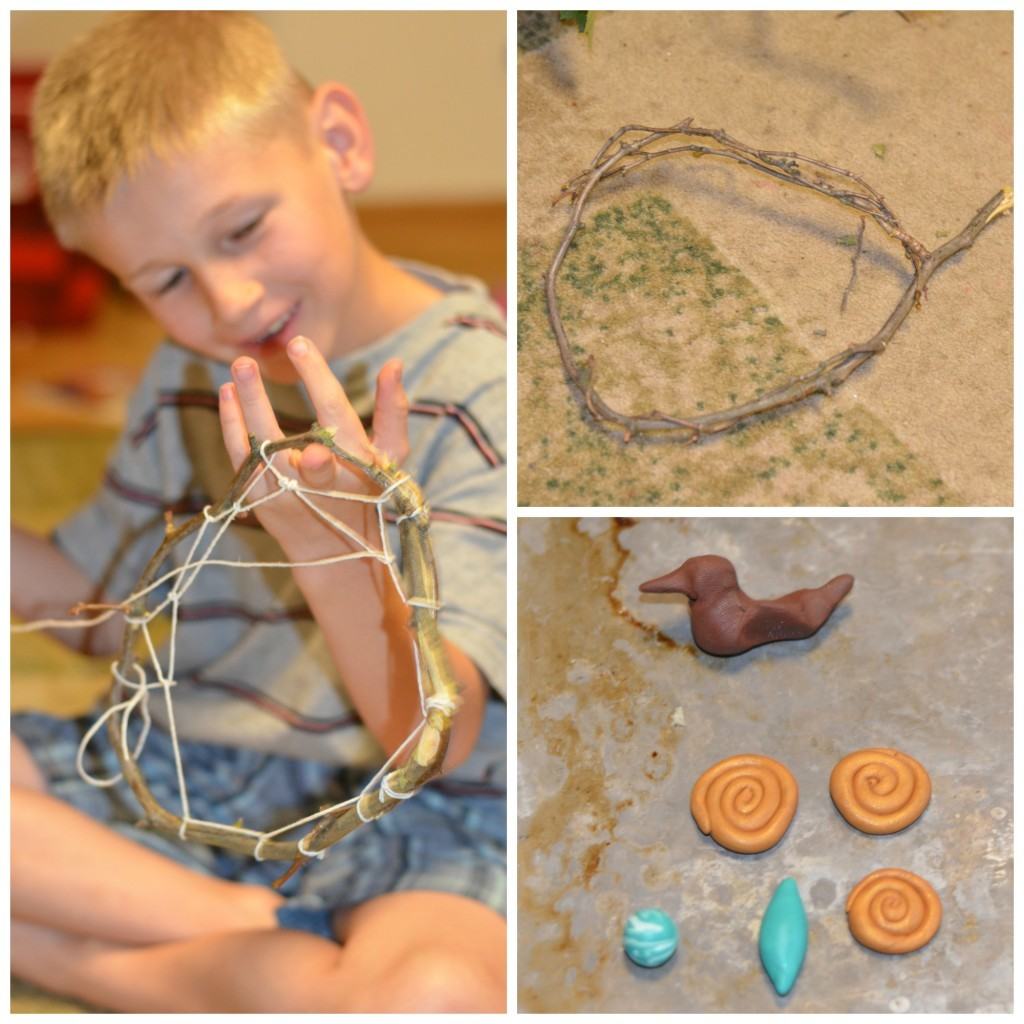
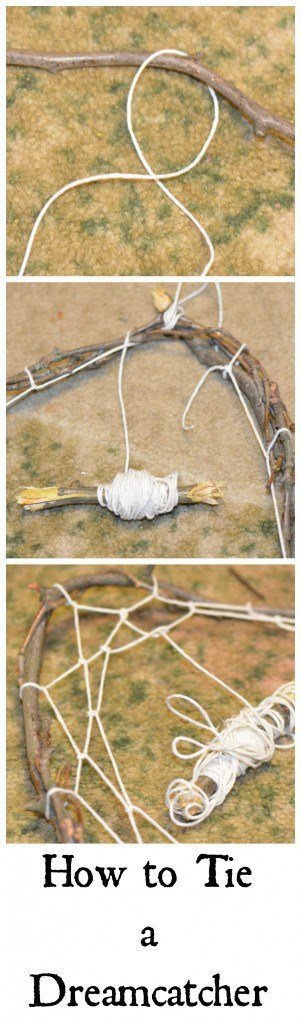
Strip the branch of any leaves and thorns. I left the smaller twigs on it as long as they were flexible enough to manipulate.
Gently bend the branch until it’s in a circle form. We used the smaller twigs to wrap around to hold it in place. (See the image above.) We did end up tying it with the hemp string to hold it in place while we started tying it.
We made the beads from Sculpey and used a kabob skewer to make holes in the beads before we baked them. Once you’ve made your beads, bake them at 350 for about 20 minutes (or follow the instructions on whatever kind of clay you used). Cover them with foil while baking!
While our beads baked, we started tying the string. To do that, simply follow these steps:
Wrap the string by placing it behind the branch, pulling it over the top, and then bringing it back down underneath the first string. (See the picture.)
Pull it tight each time. The first wrap-around was a little complicated because it didn’t want to hold. I had my son help me by holding the first one in place as I moved on to the next section.
Repeat the wrap every inch or so around the hoop, pulling the string between knots tightly enough so there is no slack but not tightly enough to cause the branch to bend. You want it to stay flat on the floor when you put it down.
I wrapped the end of my string around a twig to make it easier to thread (like a needle).
When you get all the way around the circle, begin tying the knots in the center of the previous ring’s strings. (See the image. You want the straight segments that run parallel with the ring.)
Go around and around, being careful to keep the string tight!
When you get closer to the middle, add beads wherever you want them. I added mine at the third, fifth, and seventh rings. In order to add them, I needed to unwrap the string from the twig so I could thread them easily- which was okay because then I was working with less, and the holes to tie knots in were getting smaller and smaller anyway!
To finish, add strings on the sides and tie on more beads and feathers. You can wrap the cording around the twig ring, tie the cording on the feathers, and add some as a loop to hang the dream catcher.
I thought it was a really fun and easy project for fall. My kids’ dream catchers turned out fantastic as well. (Keep in mind you may need to help younger children tie their strings.) Give it a try with your kiddos!
NOTE: This article was written by Heather, the previous owner of Only Passionate Curiosity.
Do you want to learn about the meaning behind dream catchers? The YouTube video below explains it!
Learn More About Native Americans and Dream Catchers with These Children’s Books:
Grandmother’s Dreamcatcher: A sweet story about a child who has nightmares and learns about Dreamcatchers from her Grandmother.
The Very First Americans : A great introduction for very young students.
Atlas of Indian Nations: This one is my favorite book of reference for older children and adults.
You May Also Like

New Mexico Homeschool Road Trip – In this article, you’ll find a New Mexico Pueblo Native American Unit Study that we put together a few years ago when we took a Homeschool Road Trip to New Mexico.
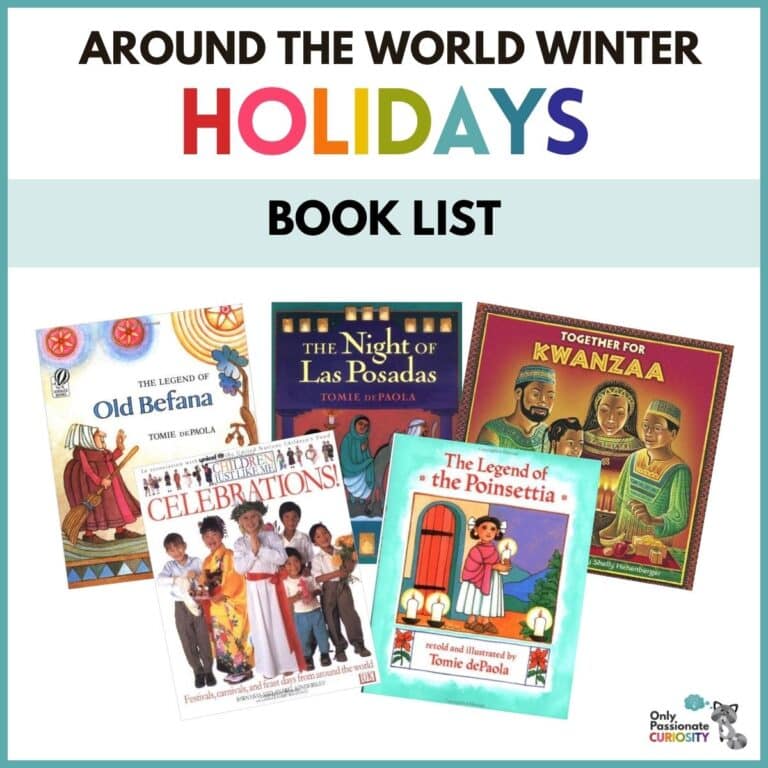
Hands-on Countries of the World Activities Your Kids Will Love

awesome tutorial. Made my first one tonight (just the basic catcher with no embellishments – will hunt around the house and yard for tidbits to add to the catcher). Thank you for posting!
Thank you for this tutorial.
I was looking for such a tutorial. Thank you.
This is so pretty! I can’t wait to make some with my kids!