
Homeschool Room Tour & Organization Ideas
A special thank you to Oriental Trading Company for helping us decorate our school space and providing us with supplies to rock our school year!
Today I am super excited to share a tour of our new homeschool room. We moved over the summer, and honestly, I have been trying to get this post up for weeks. I’ve put it off again and again because, despite getting the room set up about a month ago, I’ve not been able to get it Pinterest perfect.
I realized yesterday as my kids were playing and learning and exploring in this room that putting off taking pictures and sharing our space with you because it wasn’t perfect is just silly. And really sad actually. The space doesn’t need to be Pinterest perfect to be an awesome place to learn! And I don’t need to be Pinterest perfect to share it with you.
So — here is our homeschool room tour, in all it’s perfectly imperfect glory. Complete with messes on the floor, and kids in their underwear with lots of messy hair (don’t care).
Welcome to our home.
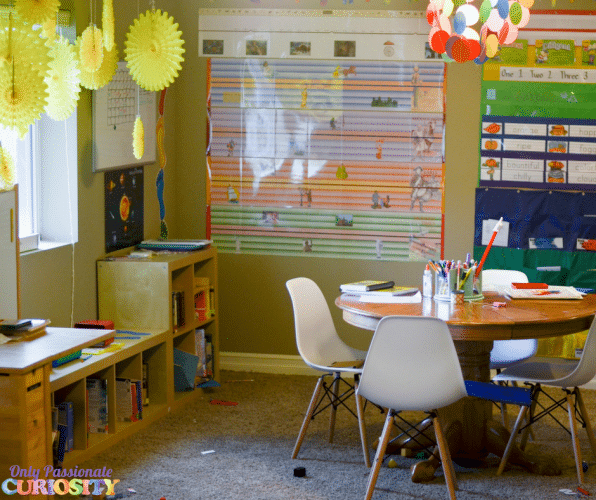
Our homeschool space in this house is in the basement. It’s got two windows, so there is a good amount of natural light, which I find to be necessary in order to teach in a space. In the past, we’ve homeschooled from the dining table with nothing more than a small command center to work off of. I do love homeschooling in a central place which allows me to move from my chores to the kids to cooking without ever losing focus of the school day . . . but there is also something special about a school space that can contain all the books and clutter, and be out of sight out of mind at the end of the day.
In the middle of the room, I have a table I snagged at the Goodwill for $15 (someday, I’d like to refinish it) and four fancy pants plastic chairs I bought off Amazon.
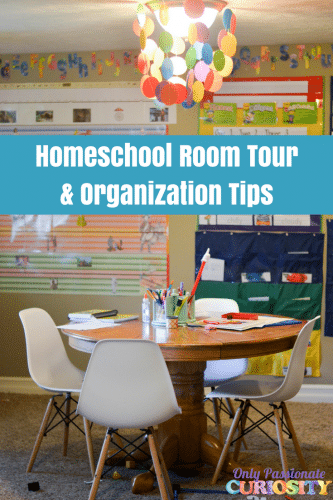
I created a colorful dot chandelier from these Rainbow Polka Dot Hanging Door Decorations (I just used a staple gun to drape them around the light- taking care to not get too close to the light fixture. Paper + Heat is not a great idea, so be careful!).
We added an ABC border to the top of the room using these beautiful Watercolor Bulletin Board Letters from the Learn365 Watercolor Classroom collection.
Around the room, I have various centers set up. On the back wall, I have our calendar pocket chart and cards, as well as a weather graph, sentence strips, a reading center, and a giant timeline.
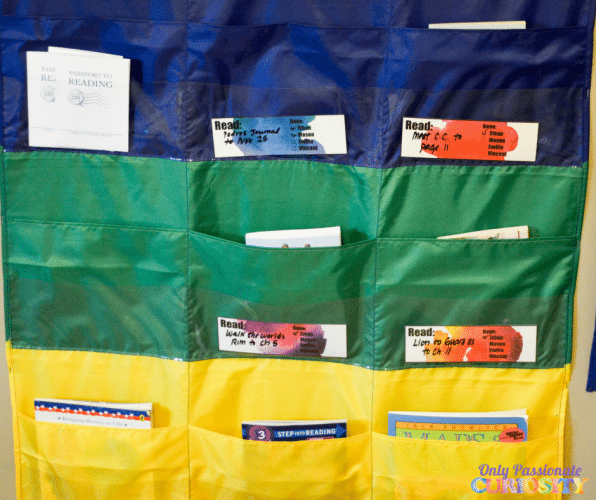
This reading center is one of my favorite additions to our classroom this year. This chart has big pockets– big enough to hold a standard workbook or reading books. I created little slips to place in the outside pocket that lists the reading assignment for the week, and fill it up on Sundays so the kids can see at a glance what I would like them to read this week.
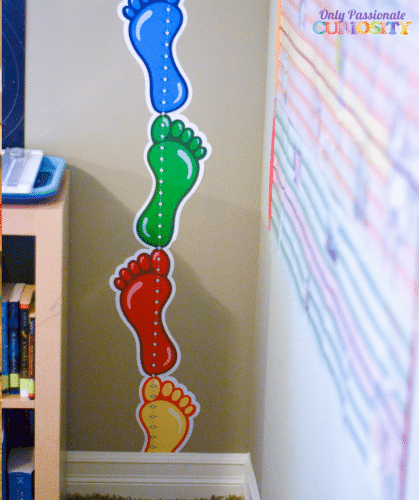
Around the corner from the maps, we have this super cute measurement strip that I put together out of these Feet Measuring Floor Clings. The kids have enjoyed checking to see how tall they are, and how tall all their friends on. They can also use this space to measure objects (although I did stick two of the extra feet on the top of one of the low bookcases to use as a part of a measurement center.
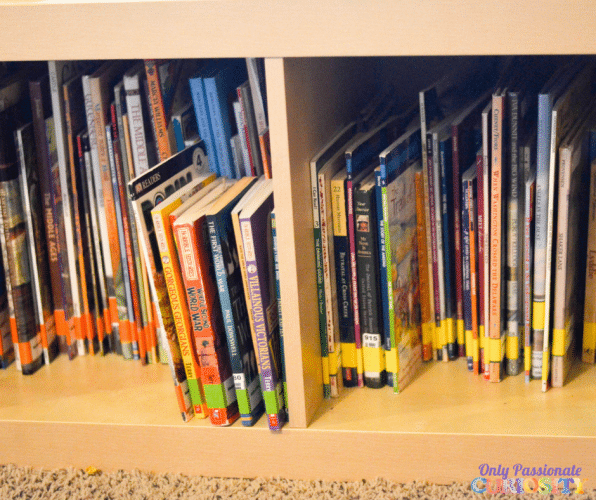
Going down this same wall, I have a ton of bookcases full of children’s books. I used our Home Library Label system to organize them by subject, and the kids are awesome at keeping them (mostly) organized because all they need to do is match the color of the label on the spine. This is the smartest thing I have ever done in our homeschool space and it has worked for us for years.

There is a big window on this wall that looks out into the backyard. Instead of hanging drapes, I thought it would be fun to hang these sunshine yellow Tissue Hanging Fans in front of the window. But I think I like these even more because of all the colors! They remind me of flowers and bring some extra brightness into the space.
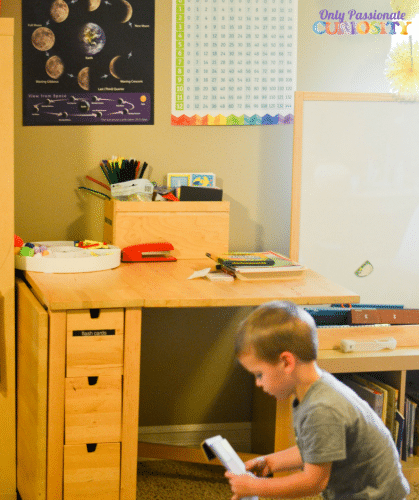
Next to the window is my desk. Most of the time, we are all together at the table, but sometimes I move over to this desk to check answers on math homework, or to do some work while the kid are spread out at the table. I also use this space as a place to send Bug or Doodle when they need to be focusing on something (Pre-Algebra anyone?) without the little kids distracting them. The top drawer of my desk holds emergency candy (and I am not ashamed to admit it).
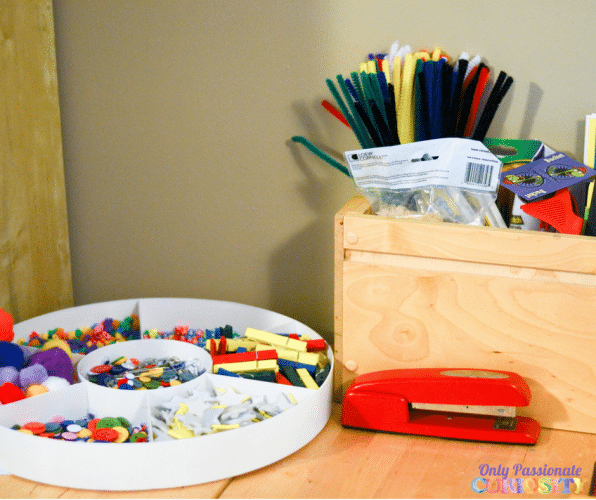
On top of my desk, I keep craft supplies easily accessible so the little kids can enjoy them. I also keep the excess supplies in a storage room, but some things stay out all the time. The organizer includes:
Google Eyes
Pom Poms
Clips – Colorful ones!
Stars – Make your own
Buttons – Fun colored ones
Star Beads
ABC Beads
Foam Sheets
Pipe Cleaners
Glue
Scissors
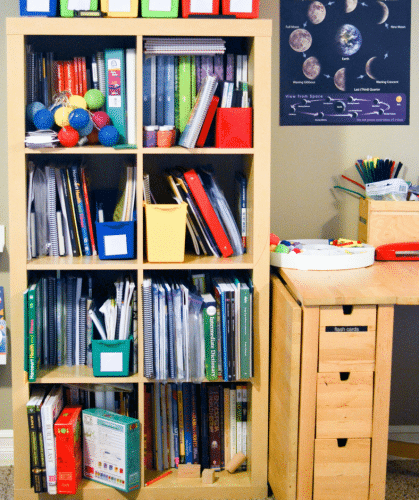
Next to my desk, I have what used to be our “command center” – Each kid has a shelf, and I have the top two full of the teacher’s manuals and books I use most often. The magazine boxes contain independent work (workbooks) that the kids can pull out and use whenever they like. On the bottom, I keep reference books, and extra supplies (writing paper, extra notebooks . . . that sort of thing).
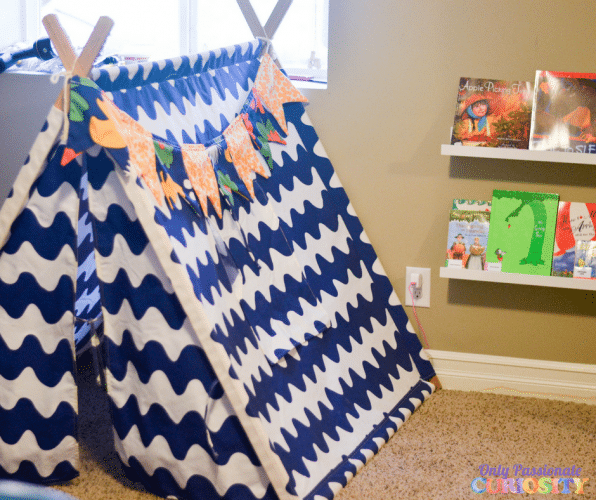
Finally, on that side of the room, we have a space for reading. The tent has pillows and blankets and can be used for quiet reading time. Doodle spends a lot of time in this space when he needs room to unwind by himself during the school day. We’ve set a rule that only one child is allowed in the tent at the time, and only books can be brought in to help keep it a quiet, safe space for all of the kids. Next, to the tent, we have bookshelves where I keep the seasonal books and anything I’d really like to tempt the kids to read.
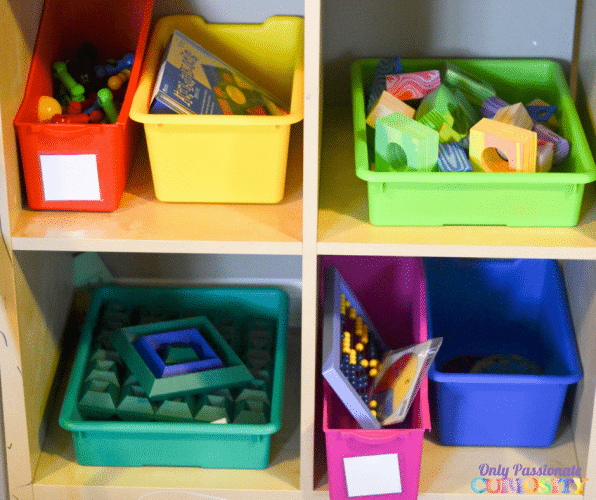
The other side of the room has bins full of toys and materials. Homeschooling with a toddler under foot isn’t easy, and having supplies for him is key to keeping all of us sane. Little Miss also uses these bins throughout the day.
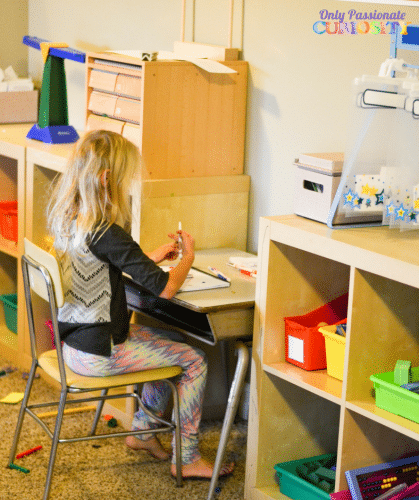
She has her own little desk in the middle of this wall. When kids are learning to write, proper posture is really important, so we keep this desk around just for her to have space to learn comfortably. She takes most of her work to this table and loves having a desk all to herself.
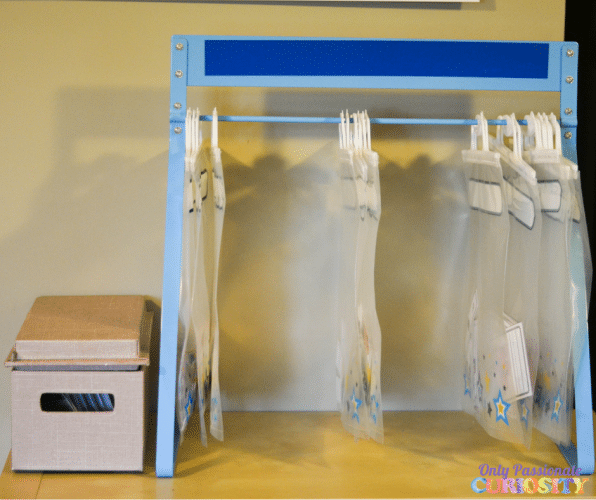
I keep all of our printables right next to her in this fantastic Classroom Storage Bag Rack. Once the pieces are cut up and laminated, they are placed in a pocket, and she can easily look and see what I have for her, and choose which ones she wants to work with. Right now she has a lot of our CVC materials in these pockets.

Finally, we have our play kitchen and some other toys in the school room too. Peanut spends a lot of time playing while the other kids work, and I love having everyone together in the space during the day!

And, that’s it for our room tour! We are loving our new space, and can’t wait to make many memories in this room over the next three years!

Where did you get your history timeline and pieces?
The timeline is from Pandia Press, and we are using Homeschool In The Woods timeline figures. I took the timeline to get laminated, and am using laminated figures so we can re-do it as the kids grow.
I love the classroom & mess! 🙂